
I seem to have taken a rather long summer holiday from my blog. In my defence, the English summer until 2 Thursdays ago was glorious. So glorious that we spent most of our time outdoors walking, running, kayaking and even swimming. While the weather was still wonderful (yes, that’s right, it is a think of the past now), our friends took us on a foraging expedition which turned up several boxes of blackberries (bramble) and cherries (small, wild, juicy and amazingly sweet).
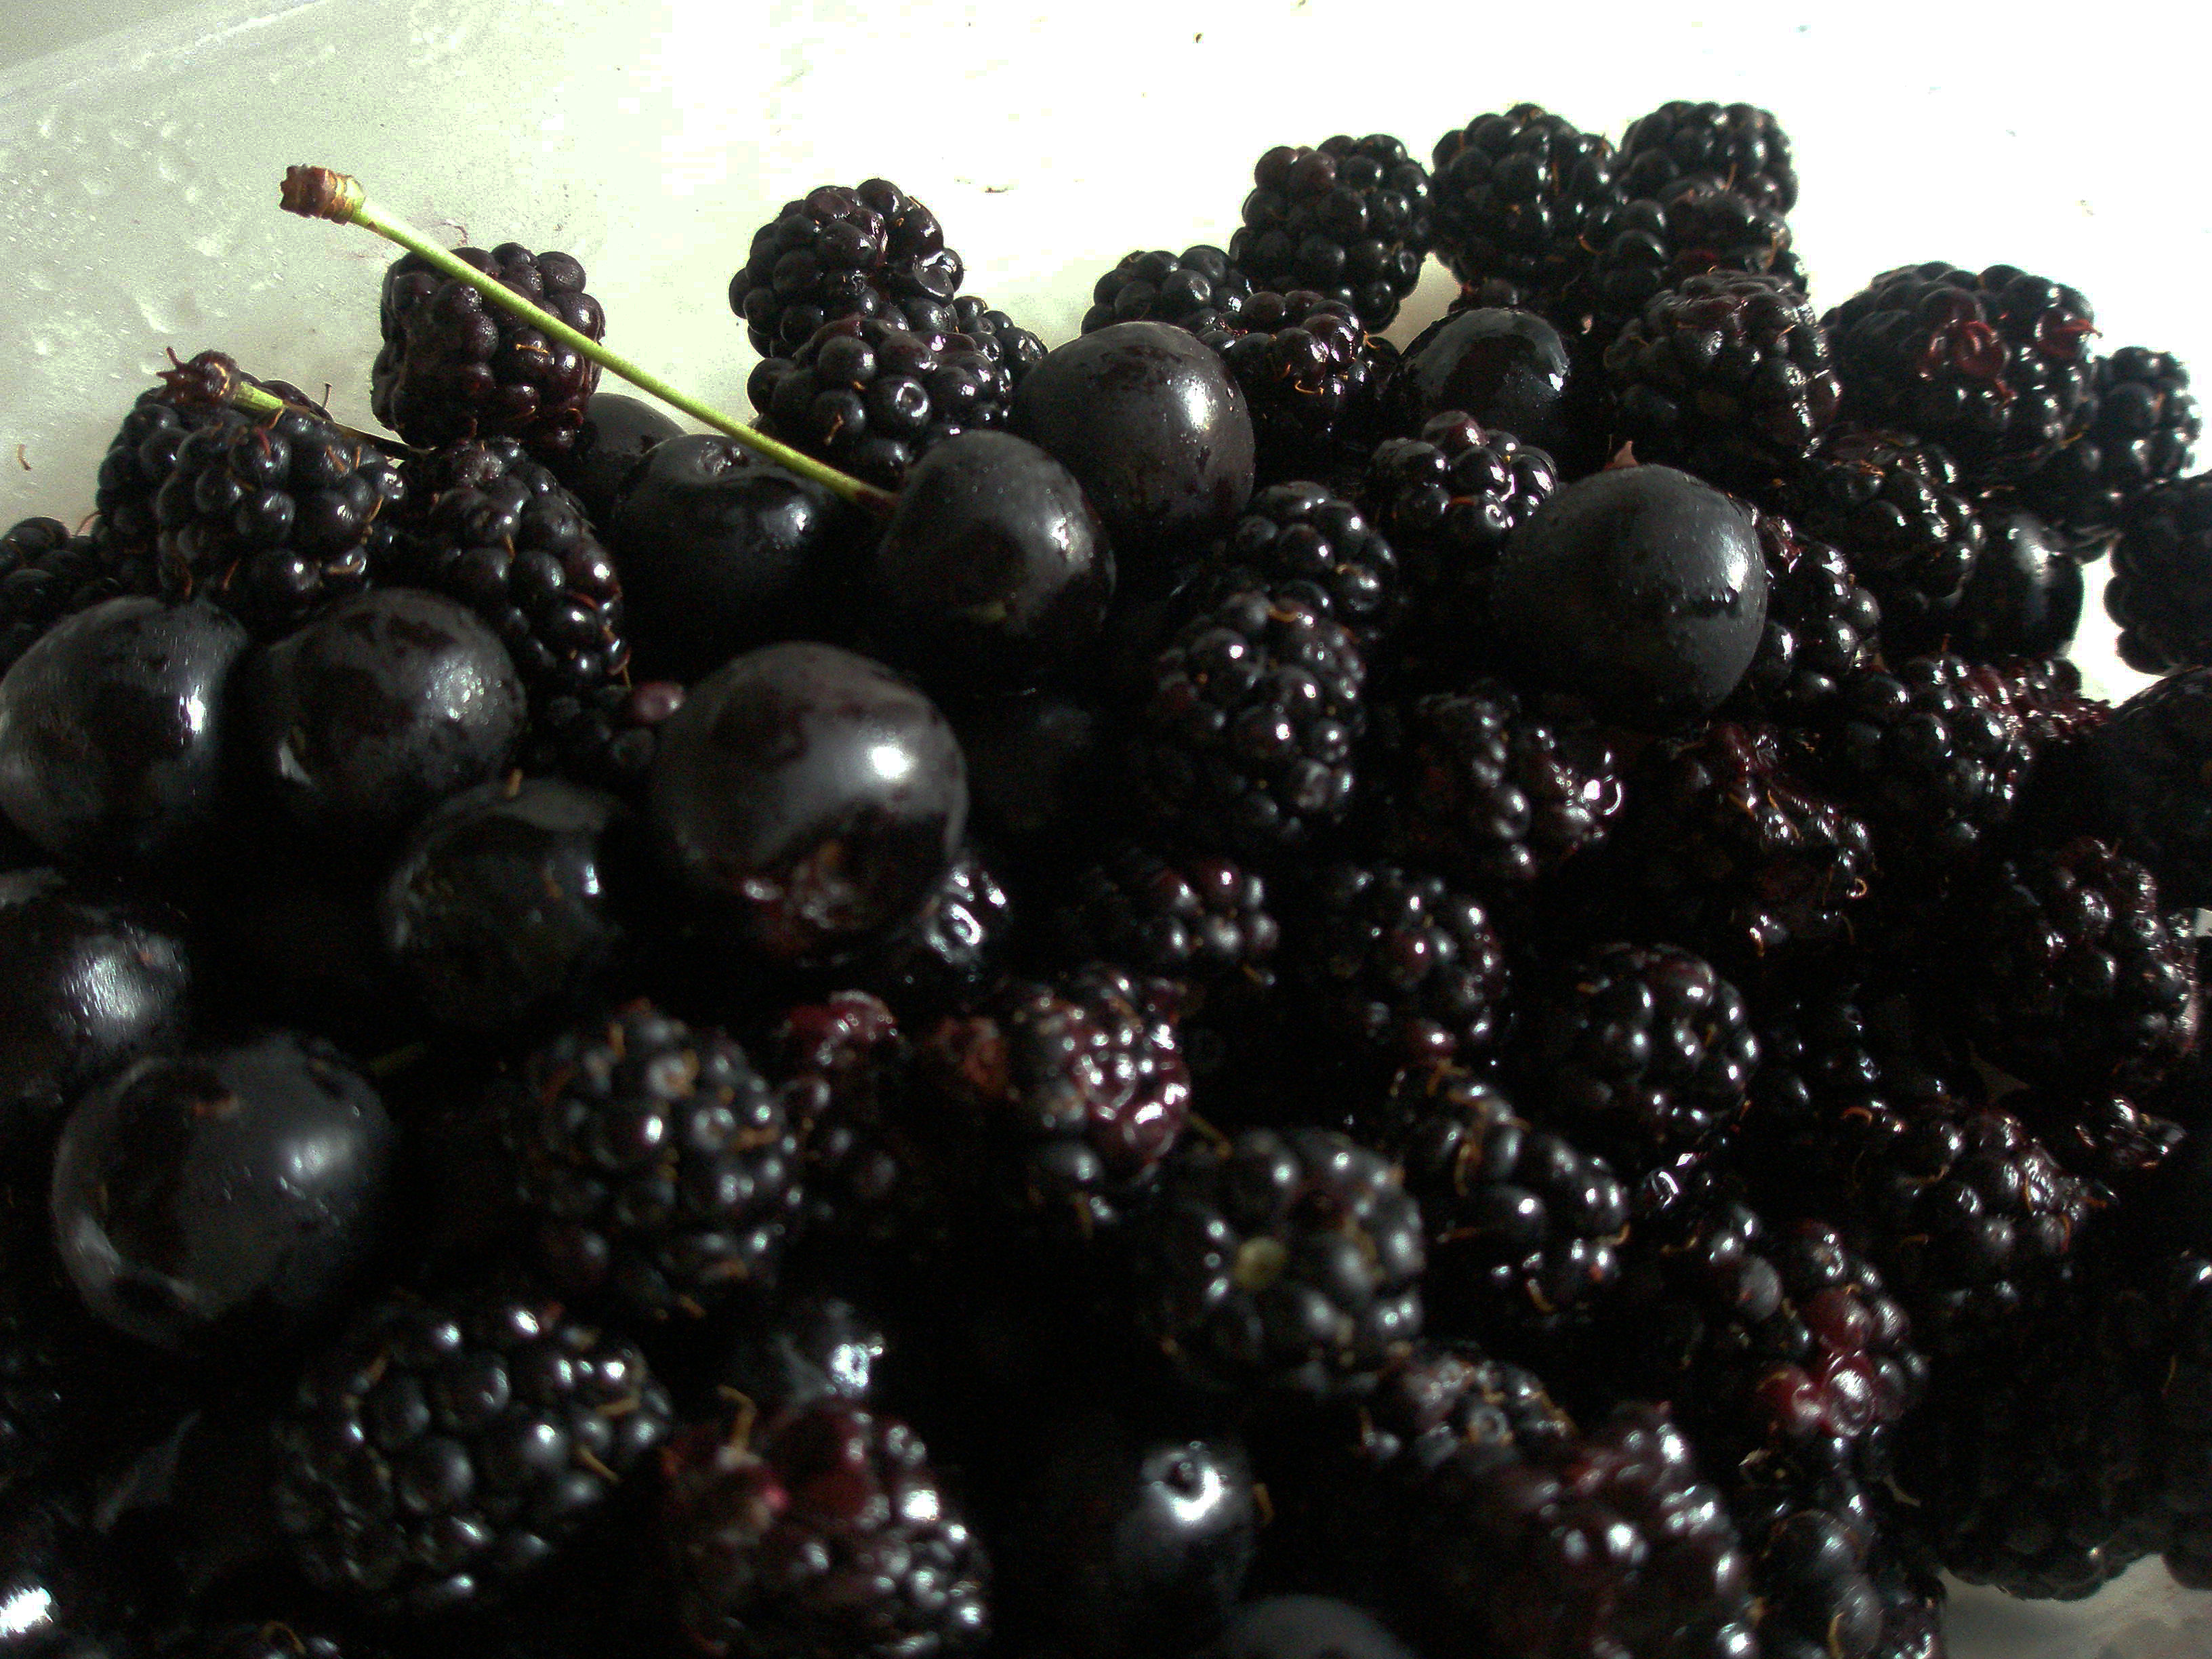
Hand-picked blackberries and cherries : Juicy and delicious
We ate as many berries and cherries as we could on the day and the day after but we couldn’t eat them all. I then asked Mr Google what I could do with a whole lot of berries and cherries. Unsurprisingly, several options were presented to me. Of these, I chose two – (1) a berry, cherry and almond milk smoothie (2) A blackberry and cherry, bread and butter (yup, a mouthful to say) pudding. This post is on the latter and is somewhat reminiscent of my one of my older recipes on Bread and Butter pudding.
Bread and butter pudding enthusiasts and connoisseurs beware – this recipe violates several basic principles. However, I can guarantee that the taste of the fresh berries and cherries made for quite a delightful dessert while we watched our current favourite TV show Treme.
Do try it and tell me what you think of it at canwehavesomerasam@gmail.com.
Bread, berry and cherry pudding
Ingredients (Picture 1; Serves 6) :
6 slices of thick white bread, crusts removed
3-4 cups of fresh berries and cherries (I had more blackberries and cherries than blueberries as you will see in the pictures)
250 mls of pre-made custard (or make some as described in this recipe)
2-3 tablespoons of jam (I used strawberry but blueberry, blackberry, raspberry are all good substitutes)
50 gms of soft butter or margarine
Method :
1. Spread butter evenly on the 6 slices of bread and cut them along their diagonal to make triangles (Pictures 2-3).
2. Arrange the bread slices, butter side down in baking dish lined with non-stick paper. I using baking paper to save myself (OK, my husband) some washing up. The butter being on the underside gives a golden and crusty finish to the pudding while most recipes will recommend the reverse. If you are really keen, spread butter on both sides of the slices of bread. Make the bread arrangement as pretty as you like (Picture 4).
3. Gently spread the strawberry jam on the surface of the sliced bread arrangement so that every bit is covered and there are no white bits of bread poking out at you. My strawberry jam was a bit chunky and I’d recommend getting some smoother jam as it is easier to spread (Picture 5).
4. De-seeding or de-pipping cherries. Cherries being stone fruits have a pip or seed in the middle. While eating them, you can chew the flesh and spit the seeds into a bowl but while using them in a pudding or jam, it’s best to remove the pips. I have included some pictures to show you how to do it.
- Remove the stalk from the cherry
- Hold the cherry between your thumb and index finger such that the end where the stalk was attached is facing you
- Press the bottom of the cherry with as if you were trying to make your thumb and index finger to touch each other. This should push the pip out of the cherry.
- Repeat 4.1 – 4.3 until your box of cherries is pip-free.

Pipping a cherry
5. Now the fun bit – sprinkling of the berries and cherries. Enjoy this bit as if you’ve picked blackberries before, you know you have to endure the many a stinging branch to get your boxes full. I put the cherries down first and then, the berries. Fill the baking dish such that you can’t see the bread from the top (Pictures 6-8).
6. Pour over half a tub (~250ml) of custard over the berries so as to cover them completely (Picture 9).
7. Place the baking dish in the fridge for 30mins – 2hrs so that the custard soaks its way through the berries and the bread (Picture 10). If you are making your own custard, this step will be more obvious. Shop-bought custard tends to be viscous so it isn’t absorbed as well by the bread. However, the end product is still very good.
8. While the pudding is in the fridge, warm your oven to 160ºC. When it has reached that temperature, bake the pudding at this low temperature for 40mins or until the berries’ juices break through the custard layer and start to ooze out (Picture 11).
9. Once again, with shop-bought custard, a skin tends to form on the top as you bake it. Don’t worry if it looks a bit dodgey – just break through the surface with a spoon and you will smell those fresh cherries and berries soaked in bread and custard.
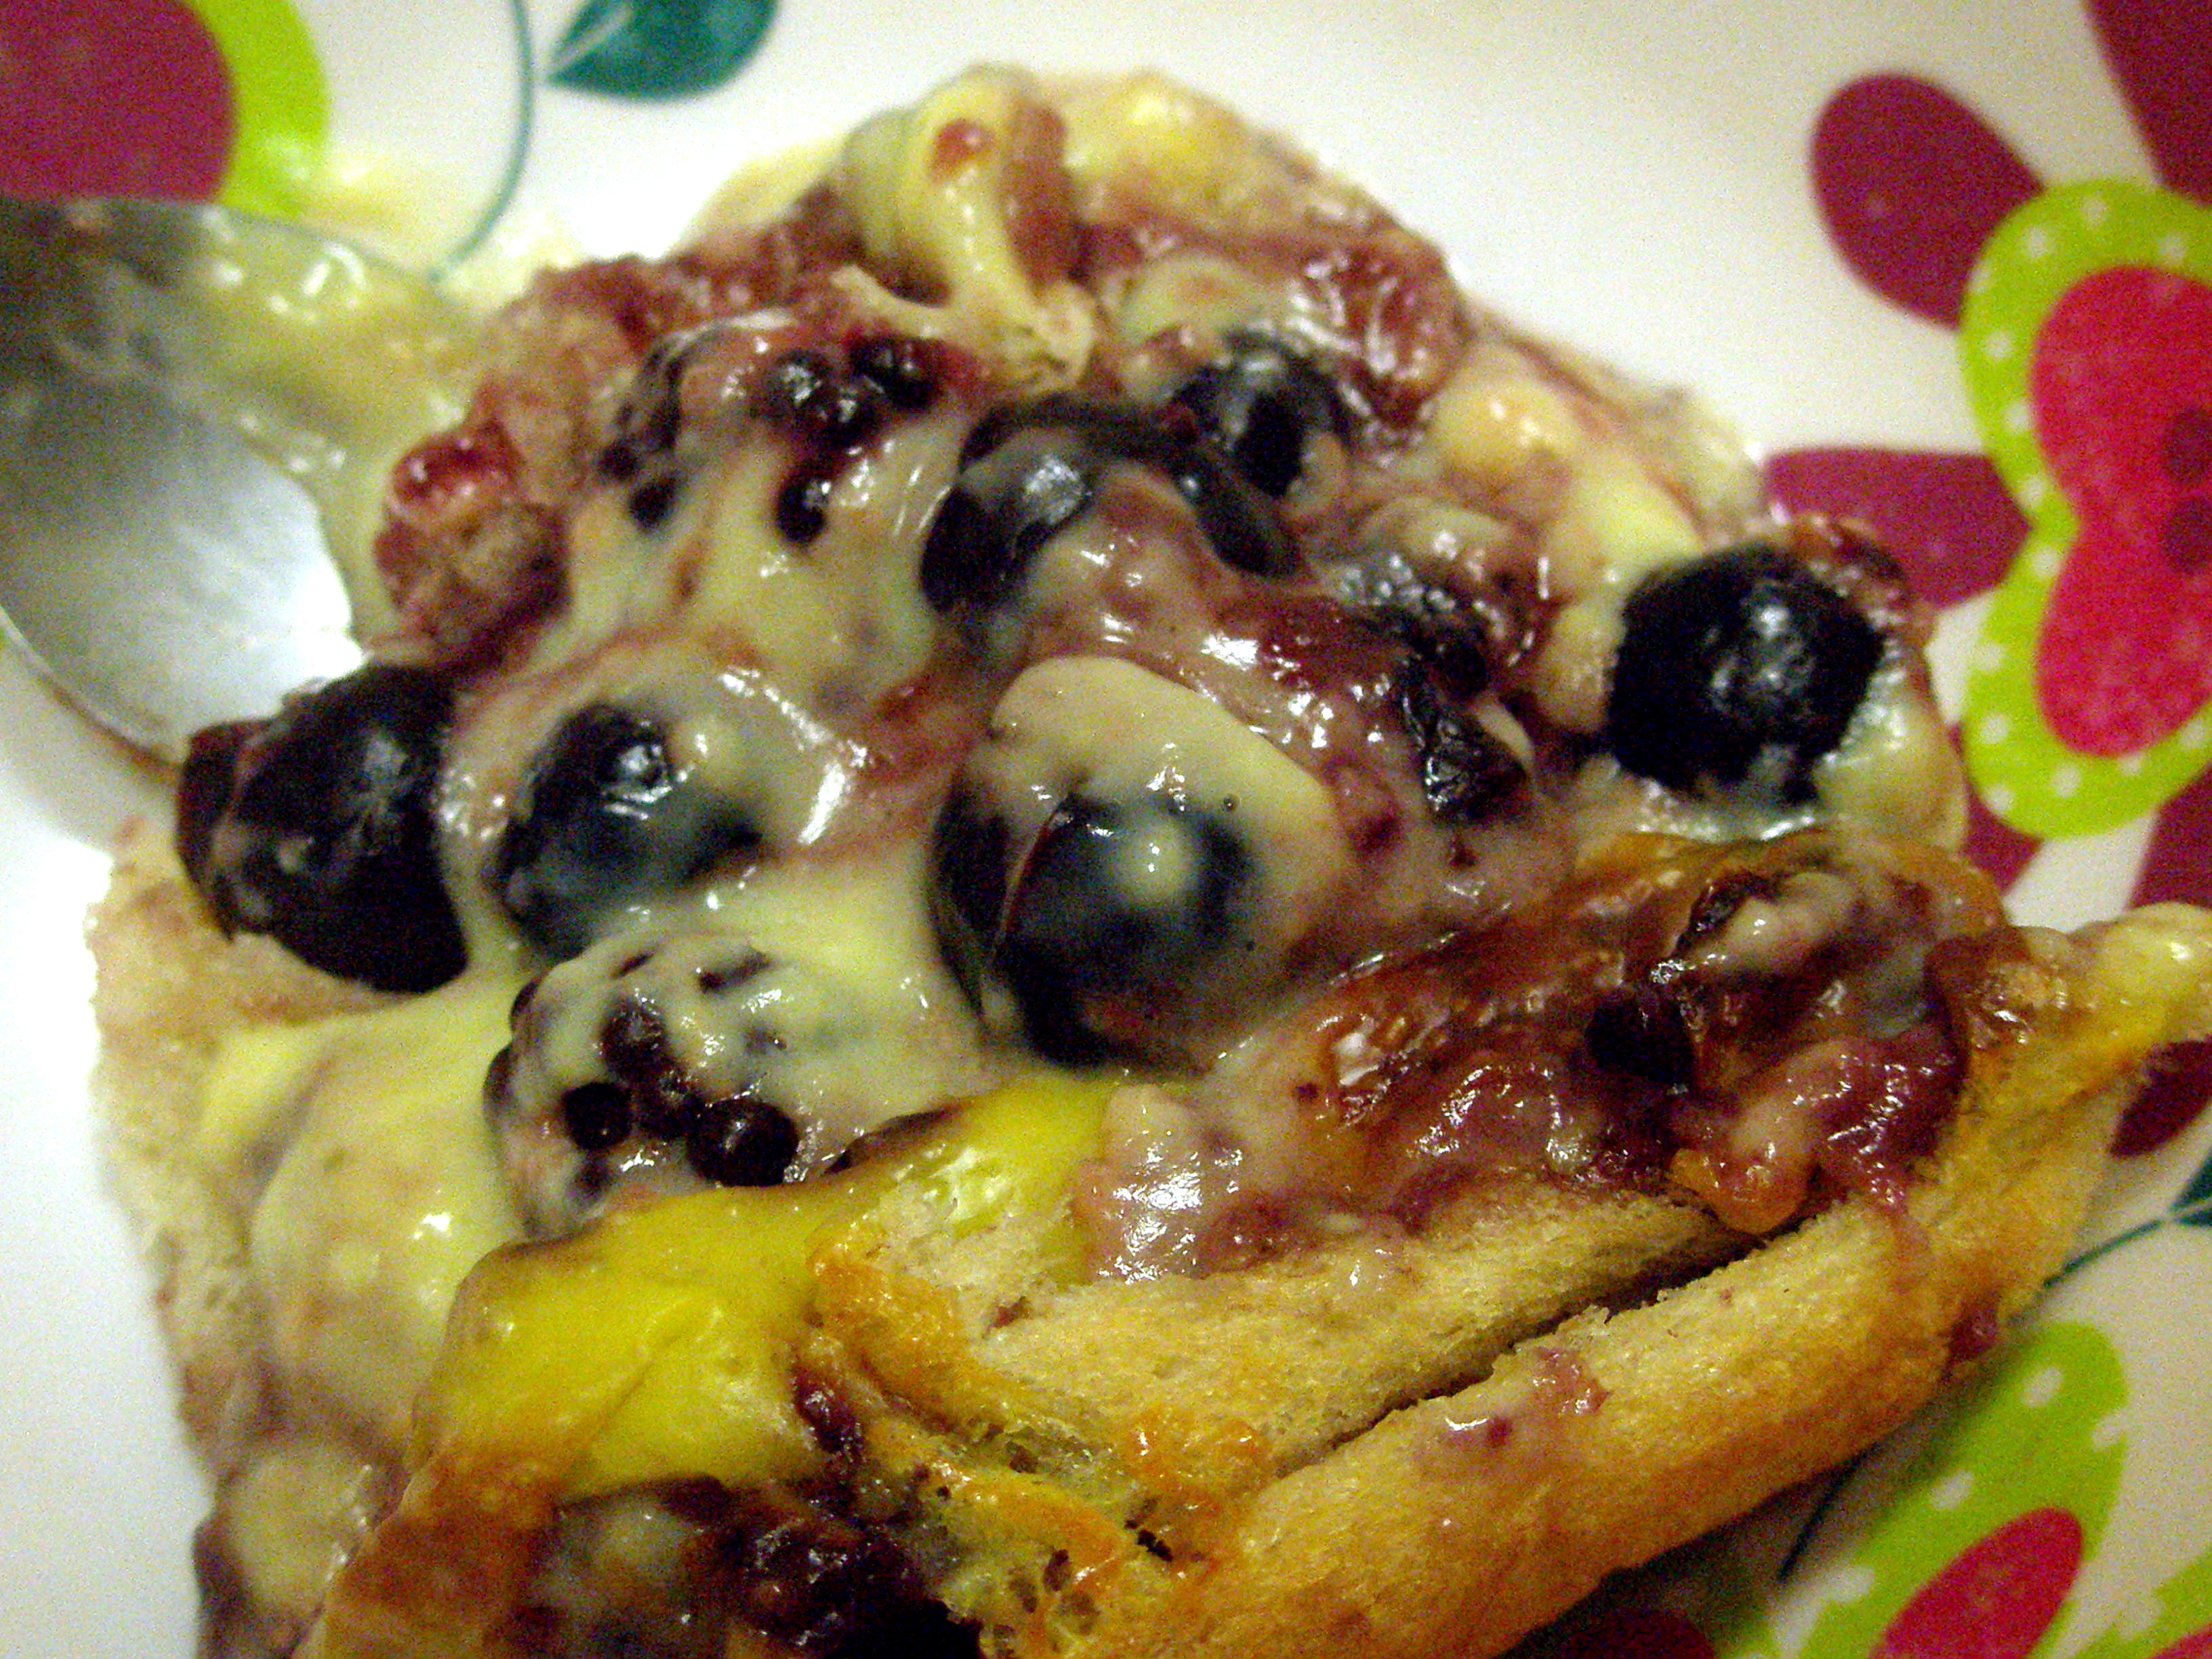
10. Cut a wedge of the pudding into a bowl/plate and pour cold custard, yoghurt or a scoop of ice-cream over the top before serving (Picture 12).
Tips:
1. To make the recipe vegan, use soy milk custard and margarine instead of butter.
2. To make the recipe gluten-free, use gluten-free bread and watch out for gluten additives in the custard and jam you use. If you are making your own custard, then this shouldn’t be a problem.
3. The cherry pipping technique I have described above is useful when the cherries you have are quite small. If cherries are larger, you’ll have to cut them like you would nectarines, plums and apricots. I usually run a knife around the circumference of the fruit, starting from the point where the stalk was attached and all the way around until I come back to the starting point.. Then I hold it in both hands and twist much like I would any other stone fruit or for that matter, an avocado (Watch the first minute of this video). Then use the knife or the end of a spoon to flick the pip out of the half that contains it.
Pictures:

Bread, berry and cherry pudding
